Switching Regulator Design
Switching Regulator Selection and Design
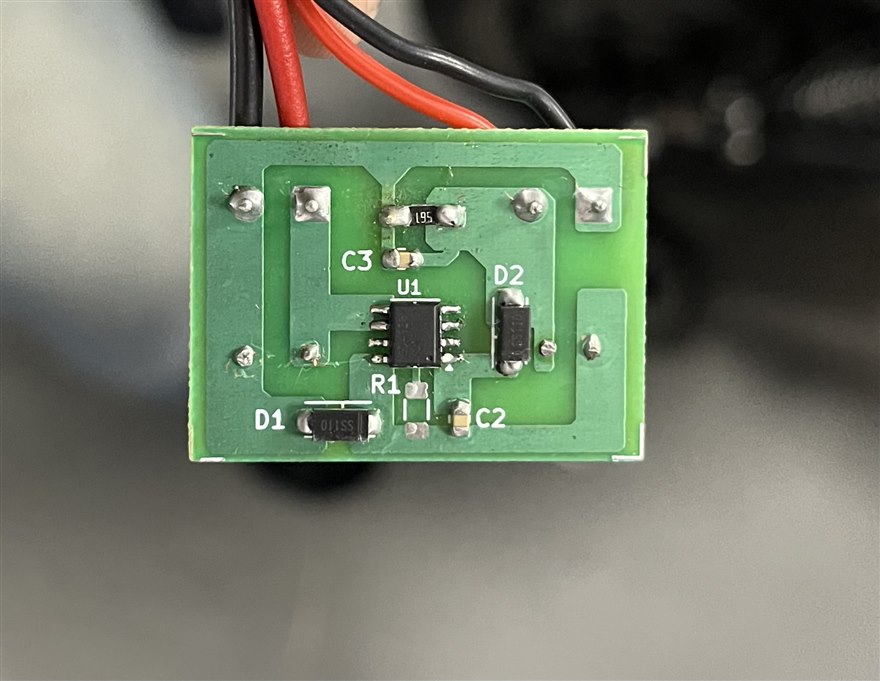
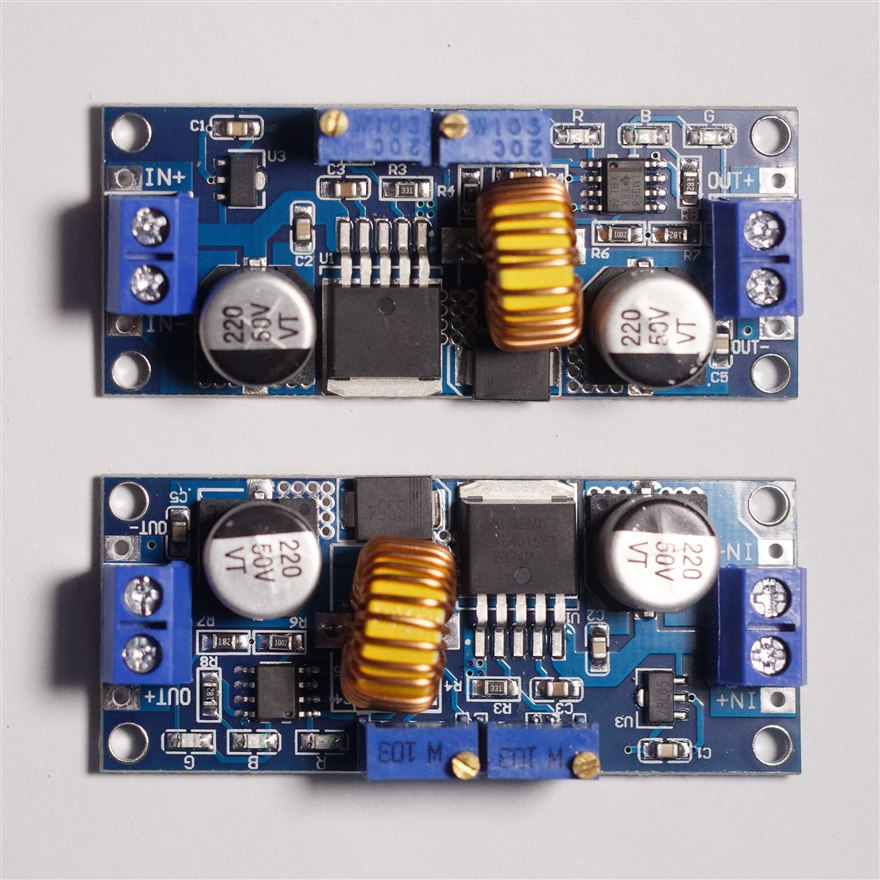
A switching regulator converts one DC voltage to another by chopping the input with a transistor at high speed and smoothing the result through an inductor and an output capacitor. It moves energy in packets and converts at high efficiency, so it carries current a linear part would turn to heat. That efficiency is why it carries the bulk of the current on a board, and it comes with a cost the linear parts avoid: ripple on the output at the switching frequency, a layout that has to be done with care, and a handful of external parts that decide whether the design works. A linear regulator needs a chip and two capacitors. A switcher adds an inductor, more capacitors, and a layout that has to be right, and each of those is a place the design can go wrong. The selection covers the chip, and the design covers the inductor, the capacitors, and the copper around them. Getting the chip right and the surrounding parts wrong gives a rail that works on the bench and fails in production, so the two halves are treated as one job.
Selecting the converter by the job
The first split is by direction, since a converter either steps a voltage down, up, or both. The common rails step down from a higher supply, and selecting a TI buck converter by application is the everyday case, matched to the input voltage, the output current, and the size the board can spare. The current rating is read at the real input voltage and ambient temperature, since a part rated for three amps in a cool lab derates in a warm sealed box, and the headline current assumes a thermal situation the design may not have. Where the input climbs high, a part chosen by the reasons designers reach for the ADI LT8390 synchronous buck-boost handles the wide-input rails, holding a steady output whether the input sits above or below it, while a high-voltage industrial input calls for selecting a TI TPS54 high-voltage buck built for the range.
Small and low-current rails pull the other way. Where a rail draws little, the place a part like the low-current ADI LTC3406 buck still fits is the compact local supply, and for mid-power rails the MPS MP2315 and MP2307 cover a wide band of common designs at a keen price. These integrated parts carry the switch on the die, so the design adds only the inductor and the capacitors, which keeps the board small and the part count low.
Stepping up is its own part.
A rail above the input needs a boost, and the output range of the ADI LT3580 boost covers the small step-ups a sensor or a bias rail asks for. Where the input crosses the output, rising above and falling below it as a battery drains, the design notes for the TI LM5176 4-switch buck-boost cover the part that holds a steady rail across that crossing. A lithium cell that starts at 4.2 V and falls to 3.0 V around a 3.3 V rail is the everyday case, where a plain buck or boost alone cannot hold the output across the whole discharge.
Synchronous against non-synchronous is the choice running under all of these. A synchronous part replaces the catch diode with a second transistor and recovers the power that diode would burn, which matters more as the output current climbs and the diode loss grows, so modern rails of any real current generally run synchronous and keep the diode only for the smallest or cheapest designs.
Reading cost and the parts to avoid overpaying for
Cost lives in the silicon and in the parts around it, and a cheaper controller can carry a more expensive design. The saving from an MPS buck over a TI part is real on a high-volume board, where the per-unit price difference adds up across a production run, so the part gets weighed against the support and the tooling a team already has. On a low-volume design the cents saved rarely cover the cost of qualifying a new part. On a million-unit board they decide the bill, so volume sets which way the comparison falls.
Some long-running parts cost more than they look. The reason the venerable LM2596 falls short on a modern rail, and where the LM2596 falls short in a modern supply, is that its old non-synchronous design and low switching frequency burn efficiency and need a large inductor, so the cheap chip drags a bigger, costlier magnetic behind it. The price on the controller is the start of the cost, and the board around it finishes the sum.
Integration shifts the same sum. A part with the switch built in costs more than a controller that drives an external FET, and it saves the FET, the gate components, and the board area they take, so on a low to mid current rail the integrated part often wins on total cost while a high-current rail still pays off with an external switch sized to the load.
Designing the parts around the chip
The converter is half the design, and the passive parts around it carry the rest. The inductor sets the ripple current and the size, and sizing a buck inductor without overpaying or overheating is the balance between a value that ripples too much and one that saturates or runs hot, since an undersized core loses its inductance as the current climbs and the ripple runs away with it. The value sets the ripple current, the saturation rating sets the ceiling, and the DC resistance sets the copper loss, so the inductor is read on three numbers at once. The capacitors take the rest: sizing the buck input capacitor handles the pulsing current the switch draws from the input, and the way the buck output capacitor affects loop stability ties the output cap to the feedback loop, where the wrong value or ESR turns a steady rail into one that rings or oscillates. A ceramic output cap with vanishingly low ESR can cost a part its phase margin, where the old electrolytic parts needed some ESR to stay stable, so the loop is checked against the cap that ends up fitted.
Frequency is the lever under the size. A higher switching frequency shrinks the inductor and capacitors, and why a higher switching frequency can cost efficiency is that each switching transition loses energy, so running faster trades efficiency for board area, a trade the design makes deliberately against the size budget it has, since a smaller inductor and a smaller capacitor are the reward for the efficiency given up. The same higher frequency also raises the demands on the layout, since the faster edges radiate more from any loop left loose. The numbers settle the part values, and a careful layout is what makes those values hold on the board.
Layout is where a good design fails on the bench. The critical loop in a converter, the path that carries the high-current switching pulses, has to be tight, and getting the critical loop in buck converter PCB layout right is what separates a quiet rail from a noisy, radiating one, since a loose loop turns the converter into an antenna and a noise source the rest of the board has to live with. The input capacitor, the switch, and the diode or second FET form that loop, and keeping it small in area is the single biggest move for a clean noise floor, ahead of any filter added later.
Some rails need a topology beyond buck and boost. Choosing among buck-boost, SEPIC, and Ćuk topologies covers the cases where the input and output cross or the design needs isolation or inversion, each topology trading parts count and ripple for the flexibility it gives. A SEPIC holds its output through an input that rises above and falls below it and costs a second inductor and a coupling cap to do so, which is the price of the range it covers.
How switchers get chosen and sourced
A switching regulator carries a longer bill of materials than a linear part, so a substitution touches the inductor and the capacitors as much as the chip, and a controller swapped without rechecking its compensation and its external parts can oscillate or lose regulation on a rail the original held. The feedback loop is tuned to a particular output capacitor and its ESR, so a swap that keeps the chip and changes the cap can still break the rail. The reference design is the safe path, since a vendor’s tested inductor and capacitor values come validated together, and straying from them moves the loop.
The magnetics are the part a sourcing team underestimates. An inductor is defined by more than its value, since its saturation current, its DC resistance, and its core material all shape how the converter runs, and two inductors of the same microhenry rating can behave differently on the same board. A controller in stock with no matching inductor on the shelf is a stalled rail, so the two are sourced as a pair. A broad-line distributor that carries the converter families together with the inductors and capacitors that go with them lets a design source the controller it specified and the magnetics to match in one place, which keeps a power rail from stalling on a part that is in stock while the matching inductor is missing. A power design held up for one passive is a common and avoidable delay, since the controller gets the attention while the inductor and capacitors get ordered late. Booking the magnetics against the controller at design-in, with the saturation rating and the footprint pinned down, is what keeps that delay off the schedule. The efficiency these parts win is what lets a device run longer on a charge, since every point of converter efficiency is current the battery keeps and a low-power product lives on that margin. The light-load behaviour counts here too, since a device that idles wants a converter that stays efficient at a trickle, and a part that is excellent at full load can waste the standby budget if it switches hard with nothing to feed.
The judgment that fits
Pick the converter for the rail’s direction, voltage, and current, then design the inductor, the capacitors, and the loop with the same care as the chip. The fifteen pages below take the parts and the design steps one at a time, from the buck, boost, and buck-boost parts through the inductor, the capacitors, the switching frequency, and the layout that decide whether the rail holds.